Tuesday, 14 August 2012

Instagram

A few weeks ago, finally, a friend of mine had a birthday. While baking is always a delight for me, there is nothing so overwhelmingly rewarding as baking for someone's birthday. Birthbaking. When Luz decided to join the ranks of the 24 year olds, it was clear that she needed to be compensated with a treat. After a Saturday spent baking ourselves in the sun at Precita Park, Sophie and I decided to lay low at the temporarily vacated parental house (what can I say, they are housing my precious kitchenaid). After a few episodes of Chopped, we were ready for business - with business being cupcakes. We perused recipes using coconut, chocolate and such, finally deciding that we surely couldn't go wrong with red velvet cupcakes. [insert quote about the best laid plans]. We came up with a list of ingredients we needed and headed to the (one and only no really) local grocery store, Whole Satan. We gathered the cream cheese, the powdered sugar and the cocoa powder, but struggled to locate the crucial red food coloring (two tablespoons required for true redness). We finally asked an employee who kindly led us back to the baking aisle we had already scoured. Tucked in a tiny corner was a mini pack of food colorings in a variety of colors. We thanked the employee kindly and took a closer look. Our jaws dropped. These four bite-sized bottles, containing barely one tablespoon each of coloring, cost $18.99. "We could try beet juice. Or pomegranate?" Suggested Sophie. I checked the iPhone for other food dye substitutions with little success. Beet juice takes too long; pomegranate is too flavorful; what the hell is cochineal? "Let's see if the corner store has it." We purchased our other items (the grand total of which was less than that of the food coloring alone) and proceeded to the corner store. They didn't have it.

We made them anyway:

Not-Red Velvet Cupcakes
adapted from http://www.foodnetwork.com/recipes/paula-deen/red-velvet-cupcakes-with-cream-cheese-frosting-recipe/index.html

Cupcake Part
- 2 1/2 cups flour
- 1 1/2 cups sugar
- 1 tsp baking soda
- 1 tsp salt
- 3 tsp cocoa powder (original recipe called for 1, but we needed a color boost. Also, it is chocolate)
- 1 1/2 cups vegetable oil (depite popular opinion, as Sophie can attest, oil is often superior to butter in cakes for the moistness it lends)
- 1 cup buttermilk (or milk mixed with a tablespoon white vinegar or lemon juice)
- 2 large eggs
- 1 tsp white vinegar
- 1 tsp vanilla

Frosting Part
- 1 lb cream cheese (room temp)
- 2 sticks butter (I think we used salted and it turned out just fine - room temp)
- 1 tsp vanilla, or to taste
- 3 cups powdered sugar, or to taste (original called for 4 cups, but cream cheese frosting recipes almost without fail are too sweet. It is best to add some, then see if you want it a little sweeter or not)

Preheat oven to 350 degrees F. Grease some muffin tins (line with cupcake papers if you have them).

Have your lovely helper mix the drug ingredients (up through cocoa powder) in a small bowl.

In the bowl of your kitchenaid, mix the oil, buttermilk, eggs. Add the vinegar and vanilla and beat it all together. Slowly pour in the dry mixture with mixer on low (to avoid flour-face) and mix until just combined. Don't overmix! Scoop the batter into the prepared muffin tin. We filled the cups more or less to the top and no one was complaining. Bake for about 20-25 minutes. Remove and cool on a rack. This batch made about 18 cupcakes, but could be stretched if the cupcakes are not monstrously large.

For the frosting: Clean the kitchenaid. Whip the butter and cream cheese together thoroughly. Very thoroughly. Add the vanilla and some powdered sugar. Taste the concoction. Determine whether it needs more sugar or vanilla. Proceed accordingly.

Once the cupcakes are cooled, use a butter knife to spread ample amounts of frosting on top of each (rest assured, you will have leftover frosting). If you have sprinkles, put some on top. Feed them to the birthday girl.

Wednesday, 25 July 2012

Sticky

Every now and then, I stun myself with my talents. Even less frequently, I stun those around me. One such instance was not too long ago, when Justin decided to cook dinner for some of his and my friends while I was housesitting for my parents. I generously agreed to prepare dessert. I had bought some dates on a recent food buying spree, primarily on impulse (and since dates are delicious), but also with a hidden agenda. As every good South African knows, the best dessert to come out of the third world contains dates. Cape Brandy Pudding is truly a delight - albeit less of a rare treat now that one can purchase it in frozen form from one's local Whole Foods (note: this is not a plug for Whole Foods). But I digress. I ended up rounding off the culinarily thrilling evening with a delicious Toffee Cake. I spontaneously replicated this cake recently for my parental units, being that they are huge proponents of anything with the words "toffee" and "dentist" in the title. I really followed the recipe too:

Toffee Cake
From the Big Book of Baking

- 1 cup chopped dates (as luck would have it, my weird parents happened to have some dates lying around!)
- 3/4 cup boiling water
- 1/2 tsp baking soda
- 6 tbsp unsalted butter (it's a cake, use unsalted)
- 3/4 cup granulated sugar
- 1 large egg
- 1/2 tsp vanilla (I even measured the vanilla this time!)
- 1 1/2 cups self-rising flour (do they even sell that in this country? Oy vey. Good thing I have an iPhone now!)

Toffee Sauce Part
- 1/3 cup brown sugar
- 3 tbsp butter (also unsalted)
- 2 tbsp milk (can use cream)

Preheat oven to 350 degrees F. Grease an 8x8 or so cake pan. Maybe 9x9.

Mix the dates, water and b.s. in a small saucepan. Heat gently for a few minutes without boiling (it will erupt) until dates are soft and separate from each other. Remove from heat. Use your Kitchenaid to cream the butter and sugar. Add the egg and vanilla and beat well. Pour in the date mixture and continue mixing with mixer. Gently beat in the flour just until combined. You will probably have to do a few mixes by hand with a spatula for full mixation (this is one flaw of the almost flawless kitchenaid. Such is life).

Pour the batter into greased pan. Instagram a photo of your kitchenaid (optional).

Bake  for about 30-40 minutes until toothpick comes out clean.

While the cake is baking, work on the topping. Place the butter, brown sugar and milk/cream in a small saucepan. Heat until the sugar has dissolved and the mixture resembles a toffee glaze (about 5 minutes).

Once the cake comes out of the oven, poke holes all over the top. I recommend using a toothpick rather than a fork as fork holes tend to be very obvious and not so lovely looking, while toothpick holes are less visible. Pour the toffee mixture over the top of the cake. Let it cool somewhat, then unleash your family/friends upon it.

Tuesday, 17 July 2012

Dressing

Every once in a while, friends prove themselves to be more spectacular than the average human. My pseudo sister Cady is one such person. She not only has guided me through the nonsensical world of pre-medicine with grace and generosity, but she also is the person who taught my sheltered 9 year old self what "kicking it" means. Most recently, she brightened my week with a simple statement: she had a dresser for me. To fill in those who may not be familiar with my bedroom situation up until present, I moved in to my current home in november and have since been using a combination of a chair, a closet and a suitcase for housing my clothes (no comments, parents). Anyway, when Cady shared this news with me I was immensely grateful. She additionally offered her husband and his truck to transport aforementioned dresser to my humble lodgings. I almost cried. Instead of shedding tears, I embraced this moment as an opportunity to explore the world of gluten free baking. As it happens, Cady does not tolerate gluten well (or at all). Still, she and Joseph were bringing me a dresser and clearly needed to be compensated with cookies. And so I did this:

Gluten-less peanut butter cookies 
Adapted from the Internet

- 1 cup peanut butter (I used chunky but I doubt it matters)
- 1 cup sugar
- 1 egg
- 1/2 tsp baking powder

Preheat oven to 350 degrees F.

The recipes I looked at advised against using a stand mixer, so I left the kitchenaid out this time and went the old fashioned route. Mix the sugar and peanut butter until smooth. Add the egg and baking powder. Mix until one cohesive dough. Shape the dough into little balls. Place balls on a baking sheet. Flatten slightly (I used my fingers but you can use a fork if you're fancy). Sprinkle the dough balls with more sugar (the other name for these cookies is "Sugar and Peanut Butter Cookies"). Bake for about 10 minutes (mine went a little longer because I started playing bubble mania and temporarily exited the real world. It turned out ok).
Cool the cookies on a rack. Hide them from your hungry boyfriend. Gift them to your lovely and amazing friend-sister. Don't wait a week to put your clothes in your new dresser.

Tuesday, 10 July 2012

Upside Down


Some of you may recall my previous adventure with upside down cake. For those who do not, let's just say it was an adventure of the smoky, burning variety. Following my recent acquisition of my very own artisan (that's the fanciest one) kitchenaid standing mixer, I found myself inspired to redeem myself before the upside down cake gods. Kitchie is subletting a corner in my parents' kitchen, obliging me to concoct this cake in their residence. Lucky for me, they had a ripe mango just waiting to be experimented upon. I have made and tasted a variety of different upside down cakes, including pineapple, plum and apricot, and, I thought to myself, why should mango be any different? I requested permission from my father to use this mango in my endeavor.
"A mango upside down cake?" He asked dubiously. "You just made that up, didn't you."
"No!" I lied, unconvincingly.
He sighed. "Very well. Knock yourself out." I complied.
Based on some ongoing criticisms of my failure to follow exact recipes (and my lack of pineapple upside down cake recipe ingredients), I looked up a mango specific upside down cake recipe. This is not to say that I followed it to a tee (I did not), but I tried! Here's what happened:

Mango Upside Down Cake
adapted from Epicurious.com

Ingredients:
Top part:
- 1 mango (or two if you have a generous father)
- 1/2 stick butter, unsalted
- 1/2 cup sugar (preferably brown, but if your mother only stocks white sugar that will suffice in a pinch)

Cake part:
- 1 1/2 cups flour
- 1 tsp baking powder
- 1/4 tsp salt
- 1 stick butter, softened and unsalted
- 1 cup sugar (white)
- 3 eggs
- 1 tsp vanilla
- 1/2 cup orange juice (recipe called for mango nectar... if I knew that this was and how to procure it and were not lazy, I certainly would have used this, probably for a more delicious outcome. Orange juice, however, did the trick)

Preheat oven to 350 degrees F.

Make top part of the cake. Peel the mango and slice pieces off. Try not to eat it all. Melt the butter and sugar together in a small saucepan for about 1-2 minutes, or a little more if your sugar doesn't want to incorporate nicely. Pour the mixture into a greased round cake pan (9x2 inches, or something like it). Arrange mango slices on top of the mixture.


In a liquid cup measure or a small bowl, mix together the flour, b.p. and salt. Prepare your kitchenaid (if you have one. If not, I'm so sorry for you). Cream together the softened butter and sugar until very fluffy. Add one egg whole, and add the yolks of the other two. Reserve the whites in another bowl. Add the vanilla and beat until all combined. Next, use your fancy spill-prevention attachment to add half the flour mixture. Continue beating on low speed (don't overbeat your cake!). Pour in the orange or whatever juice and mix, then add the rest of the flour. Beat until all is just combined.
In the separate bowl, whisk the eggs whites until they reach stiff peaks. Once they are stiff, fold the whites into the cake batter. Be gentle. Pour the fluffy, pale batter over the mago slices and topping. Place cake in the oven and bake for about 1 hour. Lovingly wipe all the flour and batter of your kitchenaid.
Once the cake is done, serve it to your parents so they will support you going to baking school. Then have them go out of town so you can invite your friends over and feed them the cake so they will keep being your friends. One love.

Sunday, 19 February 2012

Apples and oranges

This week San Francisco has the joy of hosting the lovely Julie! When people are in town, I find it is nice to bake for them. Some may argue that I will use any excuse to bake. This is true, but some reasons are more inspiring than others, and the arrival of the Best Roommate Ever certainly warrants a special baked good. By definition, "special" means anything that isn't a chocolate chip cookie. "Best Roommate Ever special" means cake. I had the luxury of being at the parental home when this baking moment struck, allowing the cake to be elevated to a new level of rarity: cake with fruit.

"Cake with fruit" is not to be confused with the highly contentious "fruitcake." (I was able to concoct a fruitcake-like dessert last week that was far from horrific, but generally speaking the name does not evoke a celebratory palate in my mind.) Cake with fruit is a similarly challenging concept. It is, generally speaking, my philosophy that fruit has no place in dessert (I know, I know. Healthy blah blah). Every now and then, however, a certain fruit/sugar + flour proportion makes for a sufficiently enticing baked good. In this instance, access to an abundance of oranges led me to a recipe entitled "Easy Orange Cake." If there is one word I love more than the word "cake," it is, you guessed it, "easy." I adjusted the recipe slightly just because. Haters can cry in the corner.

Best Roommate Orange Cake
adapted from "Moroccan Orange Cake"

* 4 eggs
* 1 1/2 cups sugar
* 1/4 cup olive oil
* 1/4 cup vegetable oil
* 2 cups flour
* 4 tsp baking powder
* 1/2 tsp salt
* 1/2 cup orange juice
* zest of 1 orange
* 1 tsp vanilla
* 1 tbsp sour cream

Preheat oven to 350˚. Grease a cake pan (the Moroccan version called for a tube pan. I don't have a tube pan so I used the often hazardous spring-form pan. This time I remembered to put it on a baking sheet in the oven and thereby did not fill the house with smoke). Zest orange and squeeze as much juice as possible from orange (I did this by hand as my parents had hidden the juice squeezing device. I don't recommend doing this by hand, especially if your hands are small and weak like mine). Supplement with orange juice from fridge or another orange if necessary to fill 1/2 cup.

Beat the eggs and sugar together until thick. This can be done by hand with a whisk or with your fancy kitchenaid that I will one day possess... Pour in the oils. Note: The choice to use part olive oil, as opposed to all vegetable oil, came from seeing olive oil used in a number of orange cakes. I have learned through recent experimentation that olive oil subtly complements a variety of cake flavors (soon to come: olive oil chocolate cake-loaf). Orange's ability to jump between swimming sweetly in a smoothie (maybe I should be a kindergarten teacher?) and tartly enhancing a salad led me to assume that this, too, was one such versatile flavor. That said, feel free to use all vegetable oil or all olive oil at this stage.

Mix in the flour, baking powder (next time I might try cutting back on one tsp of the baking powder for a slightly denser cake. But I like dense things. And people), and salt. Pour in the OJ, zest and vanilla. The sour cream was another matter of luck/convenience. I have never found sour cream to detract from the deliciousness of a cake. When I saw some in the fridge, undoubtedly on its way to expiring without being used to its full potential, the choice was clear. I was still somewhat tentative and stuck with one tablespoon for trial purposes. Perhaps more next time.

Beat it all up until combined. Pour into prepared springform or tube pan. Bake for 40 minutes. Cool. Cut cake in half. Wrap half in tin foil. Bring half cake to Julie's for post dinner consumption. Sorry for no pictures.

Monday, 19 December 2011

Conversion

It's official. Melbourne falls into the top 10 cities I've visited in the world. Contributing to its greatness, of course, is the presence of the lovely Henrietta, my wonderful host during my time here. I have sadly reached the end of my Melbourne visit, but the sorrow is somewhat complimented by my adventures on Sunday, namely the creation of a peach crisp-pie. I am sure this exists, but a quick search revealed no results for such a concoction. As a result, naturally, I threw together a few recipes and came up with this:


Peach Crisp-Crumble Pie

Dough

* 1 1/2 cups flour
* 1/2 tbsp sugar
* pinch salt
* 113 grams butter
* 5 tbsp ice water

Filling
* 5 medium peaches
* approx 2 tbsp sugar (note: feel free to add more/less based on your taste preferences. This amount yielded a not-too-sweet pie)
* approx 1 tbsp flour

Crisp
* 3/4 cup flour
* 1/2 cup oats
* 3/4 cup sugar (note: I used all white sugar because I was not thinking really, but I reckon using some brown sugar (if not mostly) is preferable)
* pinch of salt
* 113 grams butter

First, make the dough. Mix the flour, sugar and salt in a bowl. Cube the butter, then toss it into the dry mixture. Coat each cube with flour mixture. You are meant to then either food process, two knives cut or pastry cut the butter into the flour mixture. I find (and Hen's mom agreed) that hands are the most effective mixers of cold butter into flour, so this is what I used. Once the mixtures resembles small crumbs, begin adding the water. I recommend going 1-2 tbsp at a time then giving a mix. Too much water is not good. When it has all come together, wrap the dough in plastic wrap and pop in the fridge for 3o minutes at the minimum.

Next, prep the filling. Some to most recipes will tell you to peel the peaches. I find this morbidly wasteful of food, time and effort. Instead, feel free to slice the peaches as uniformly as possible (for baking purposes). Throw them into a bowl and add the flour and sugar. Toss it all together. Note: I ended up completing this process a good hour before the pie was to be assembled. I'm pretty sure this is not an issue.


Lastly, create the crisp. Combine flour, oats, sugar and salt in a bowl. Cube the butter, then incorporate butter into the mixture using the same technique as utilized for the crust.

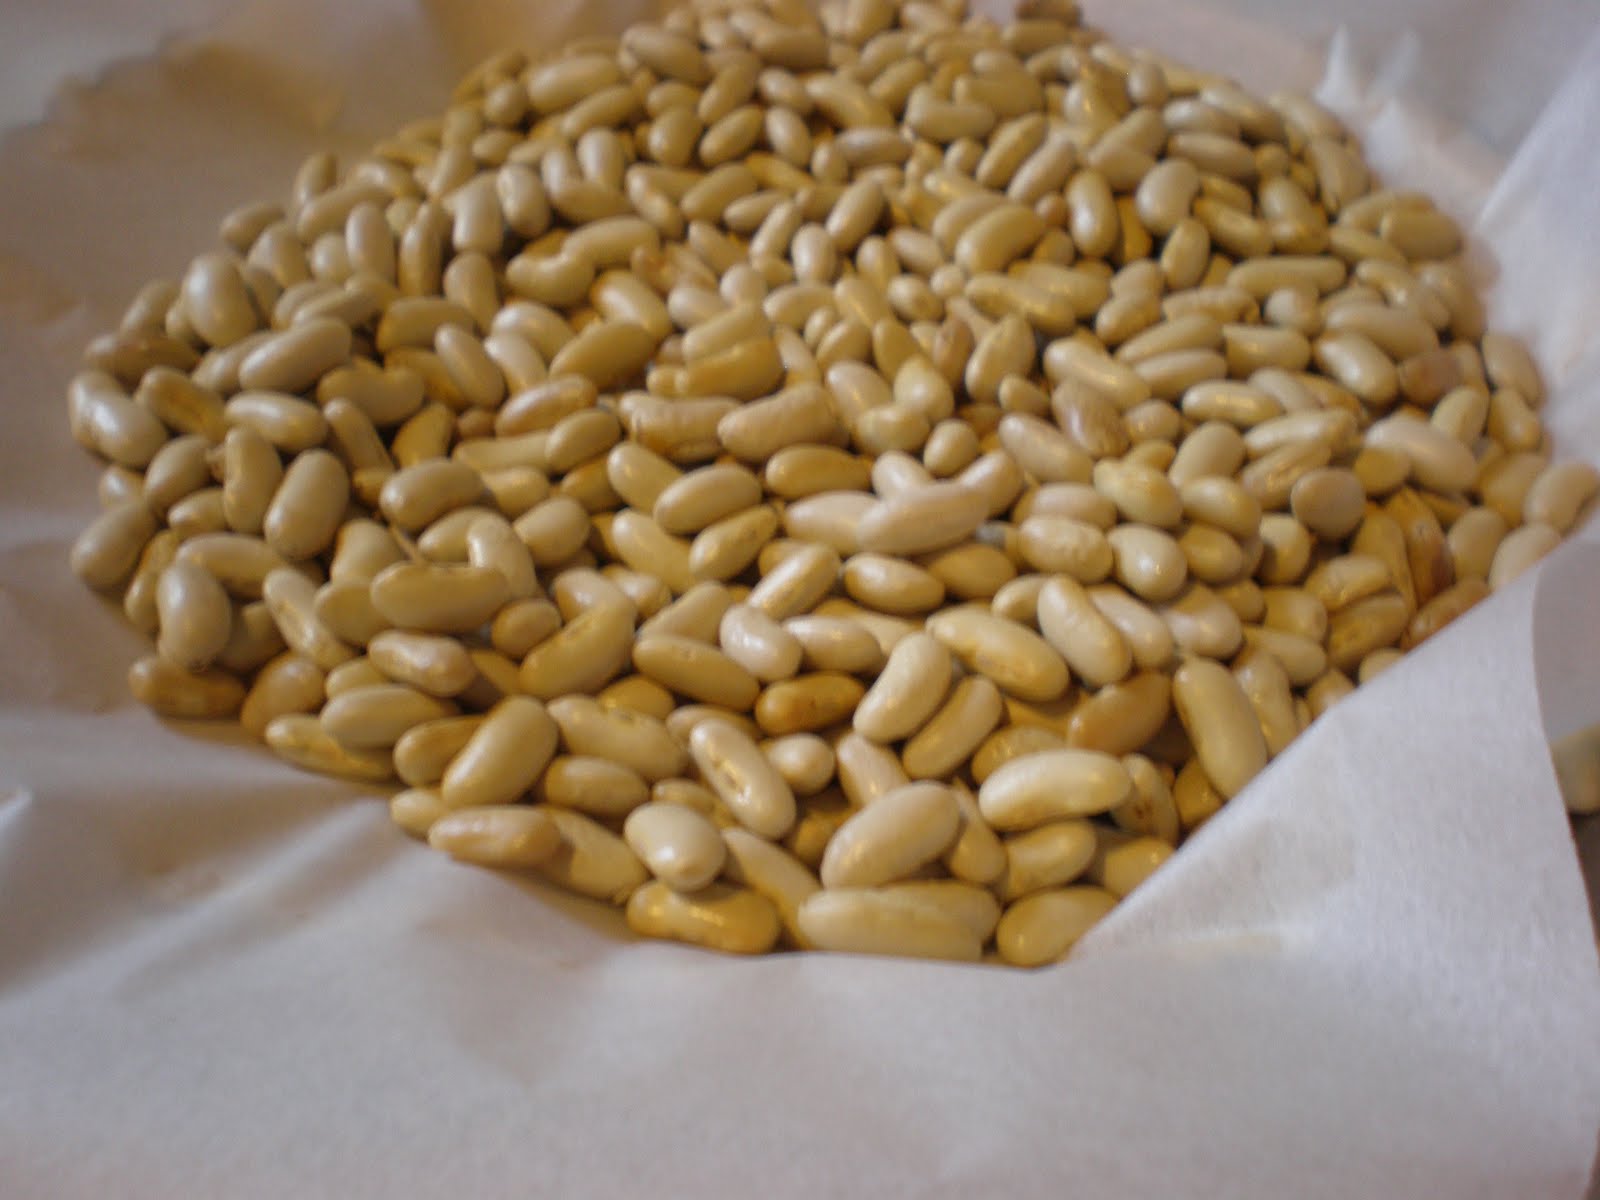
Preheat oven to 350˚ F/180˚ C. Remove the dough from the fridge. Roll out the dough and spread over a pie dish. Note: The dish we used was on the smaller side and probably could have used slightly less dough in the interest of a fully baked crust.. but so it goes. If you want to be hardcore about the whole thing, place the dish with the crust back in the fridge for 15 minutes or so. We skipped this step and went straight to the blind baking. Use pie weights/dried beans and parchment paper to weigh down the dough (see below).


Bake for about 10-12 minutes like this. After this step I deferred to Hen's lovely mum and removed the beans, then baked the crust uncovered for another 2-4 minutes. Yum! (Again, might have done OK baking slightly longer, but patience is not a concept with which I am familiar).

Finally, assemble the pie. Pour the peach mixture into the crust shell. Sprinkle the crisp/crumble over the top. Place pie on baking sheet (in case bubbling-over peach juice occurs). Bake for 40-45 minutes.


Let cool slightly (a journey to the pier for some penguin viewing and back should be sufficiently long) before consuming so pie can set. Enjoy with cream, ice cream, yog(h)urt, or as is.

Monday, 21 November 2011

what did you do in that pan?

I wish I could begin to apologize sufficiently for the immense wrong I have done to my poor fans during this extended hiatus from diamonds-ing. All I can do is plead overall life upheaval getting in the way of me indulging in anything pleasant for the past few months (well, almost anything...). But that is irrelevant now. I am here, and you can all rest easy.

Yesterday, while spending an extended time in bed attempting to recover from some seriously strong mimosas, I rediscovered my favorite pastime - click-the-recipe on foodnetwork.com. During my clickings I stumbled across Paula Deen creating a gooey butter cake. I had seen this baked good title previously and been intrigued, but always slightly intimidated. This time, I took a closer look and noticed that among the ingredients listed was yellow box cake. As luck would have it, when I moved out of the hellhole that contributed to/entirely caused aforementioned life upheaval, I discovered an unopened box of yellow cake mix. This had to happen. After a delightful morning of shoe/legging shopping with Miss Camila, we returned to my new home and set to work. Here's how it went:

Gooey Chocolate Chip Butter Cake
(slightly but not even really (thanks to Camila) adjusted from Paula Deen's recipe)

Bottom
* one box yellow cake mix
* 1/2 cup butter, melted
* 1 egg

Filling
* 8 oz package cream cheese
* 2 eggs
* 1 tsp vanilla
* 16 oz confectioners sugar
* 1/2 cup butter, melted
* some choc chips (1/2 cup should suffice)

Preheat oven to 350˚ F. Grease 12x9 pan (approx..)

Mix the cake mix with the butter, then the egg. Mixture will be thick. Scoop into the greased pan and spread evenly.

For the filling: beat the cream cheese. This is meant to be done with a standing mixer, but being that not all of us are fortunate enough to have standing mixers, it can be done by hand with a whisk and wooden spoon combination effort. Once cream cheese is smooth and well beaten, beat in the eggs, then the vanilla. Beat well. Mix in the sugar (I recommend starting in the middle and doing a slow incorporation in order to avoid dusting yourself with sugar), then pour in and incorporate the butter. Lastly, fold in the chocolate chips (or toffee pieces, or nuts if you like nuts in your mouth). Pour the filling over the cake part. Bake for 45 minutes. The edges will pull away slightly. The top will be golden brown and slightly soft. Cool slightly. Prepare to be worshiped.

Note: pictures on Cam's camera. Soon to come.