Tuesday, 26 April 2011

Virgin baking

Let me begin by apologizing for this inexcusable extended lapse in posts. The truth is I recently re-located to a new living space leaving me with a smaller kitchen, fewer kitchen utensils and appliances, and a substantially diminished disposable income. Nonetheless, when my roomie so generously stayed home from work to wait for my mattress to be delivered, it was clear to me that her selflessness had to be rewarded with cookies.

I considered a few options, including peanut butter, chocolate chocolate chip, even ginger cookies. Eventually, though, the boss of all cookies won out - Anna's oatmeal chocolate chip magic cookies. One morning before work, I traipsed down the street to my new friendly neighborhood grocery store, purchased all the necessary ingredients, and lugged the pounds of baking products (and a broom. And a plunger) up the hill to the apartment. The cookie-making process had been set into motion.

During a spell of impatience-induced boredom, I ended up making the cookies at my parents' house. They were delicious and did not survive for long. Tonight after watching Glee and eating roasted carrots, I needed cookie dough. I was not paying the closest attention to the process (for a change) and ended up inventing a new cookie.

Extra floured chocolate chip mounds

* 1 stick (sketchy, possibly fake) butter
* 1/2 cup brown sugar
* generous 1/4 cup sugar
* 1 egg
* 1 tsp vanilla
* 1 tsp baking soda
* 1/2 tsp salt
* 4 generous 1/2 cups of flour
* 3/4 cup choc chips

Preheat oven to 350˚ F.

Cream butter and sugar. Add the egg and vanilla. Pour in the flour, salt and baking soda. Mix well. Note: the dough will be very dry and require more aggressive mixing than usual in order to get the flour properly absorbed into the mix. Add the chocolate chips and mix well. (At this point, I consumed about 3 cookies in dough form. The dough was less sweet than what I am used to, but definitely hit the spot).

Bake whatever remains of the dough for 10-ish minutes. I took them out slightly early for fear of the cookies being too dry, but Abbie approved of the final result. I have not recovered enough from my cookie dough OD to taste one, but best believe that I will.

Lastly, I don't know where my camera is at this point in time, hence irrelevant photograph.

Wednesday, 13 April 2011

Aye

I have been dreaming and planning butterscotch brownies with cream cheese swirl for weeks. Possibly months. As I mentioned previously, I even purchased a bag of butterscotch chips (half of which I consumed as is) and cream cheese. There was no way that these would not be delicious. It was only a matter of when to make them and who to subsequently force them upon. Yesterday, the time finally came.

I was, indeed, short on the butterscotch chips, but I compensated by adjusting the recipe to include some chocolate chips, a few of which had survived a recent batch of corn nut cookies. Judging by the less-than-one-minute survival time once placed in front of my co-workers (not to mention the five that I demolished) these were pretty tasty.

Oh, and I'd like to say a special thanks to my dad, who inspires me always, even though he doesn't like butterscotch.

Sugar Non-brownies with cream cheese swirl (Nick made the astute observation that brownies are not golden brown, as these were, but dark and chocolatey. Fair enough)
adapted from the Magnolia Bakery Cookbook

Cream cheese part:
* 8 oz cream cheese
* 1 egg
* 1/4 cup sugar
* 2 tbsp flour

Non-brownie part:
* 2 cups flour
* 2 tsp baking powder
* 1/2 tsp salt
* 1 1/2 cups butterscotch chips
* 1/4 cup chocolate chips
* 1 stick butter
* 2 cups packed brown sugar
* 4 eggs
* 1 tsp vanilla (or maybe 1 1/2..)

Preheat oven to 350˚ F.

Beat together the cream cheese and sugar. Add the egg and flour and beat until combined.


For the non-brownies: In a medium sized bowl, mix the flour, bp and salt. In a medium-large saucepan melt the chips and butter over low heat. Stir occasionally.


Remove the pot from the heat and mix in the brown sugar. Once mixture has cooled slightly, whisk in the eggs one at a time, then the vanilla. Add the dry ingredients and mix well. Pour batter into greased 8x12 inch pan. Drop teaspoon sized scoops of the cream cheese mixture on top of the batter. Use a small knife to swirl the mixture into the batter (way easier than you might think to make it not look awful. Even I pulled it off!)

Put the pan in the oven. The recipe said to bake for 25-30 minutes. I ended up leaving it in for about 40 as it was still wobbly and the batter seemed raw when a toothpicked it. I think 35 minutes might have been the perfect time, but who's complaining about slightly caramelized brownies? Definitely not Dani.

Saturday, 2 April 2011

Garbage cookies

In a final attempt to take advantage of an empty house, I decided to have a barbecue a few days before my housemates returned. I had been anticipating a BBQ with much excitement for many months, frequently planning one only to be foiled by rain, parents, or some combination of the two. This time would be different. The month-long downpour been fully replaced by sun; parental units were in Africa; 10 hot dogs cost a dollar at safeway. Nothing could stop me. Or so I thought...

During the winter months, my barbecue had been stashed away in the basement for safekeeping. Thirty minutes before my first guest was meant to arrive, I delved into the depths of the clutter and began yanking the big black UFO-like object from its hiding place. I got it past one doorway and was moving towards the second one when a heavy metal pole collided painfully with my bare foot. After screaming in pain for a few minutes, I turned my gaze downward to confront my attacker. It turned out to be none other than one of the legs of the barbecue. "Hmm," I thought, perplexed. "I didn't realize our barbecue was collapsible." I left the leg alone, as it was still attached (albeit loosely) to the bottom of the apparatus, and recommenced dragging. I had barely moved a foot before my shin became the victim of yet another brutal attack, this time by another barbecue leg. "What the hell!" I exclaimed at the rebellious contraption. "If I wanted to collapse you, I would!"

I continued to battle with the barbecue and was consistently met with wobbly resistance. I managed to get it onto the back deck, only to have the huge bulbous grill topple dangerously near my already fearful toes. At this point I concluded that the barbecue was not collapsible, but completely totaled. The thought of returning the busted device to the basement tripled my heart rate, compelling me to abandon it where it was and return inside to figure out plan B.

Fortunately, I had already made these:

Salted pudding cookies

* 1 stick butter
* 1 egg
* 1/2 cup brown sugar
* 1 tbsp corn syrup
* 1 tsp vanilla
* 1/4 cup chocolate pudding mix
* scant 3/4 cup flour
* 1/2 tsp baking soda
* 3/4 tsp salt
* 1/2 cup chocolate chips
* 1 cup potato chips, crushed

Preheat oven to 350˚ F.

Cream butter and sugar. I added the pudding mix at this time too because I had turned my brain off at the time. It was not the best decision, as pudding mix definitely falls into the category of dry ingredient, but it worked out in the end and blended with the butter-sugar sufficiently.

Mix in the egg, vanilla and corn syrup. Add the dry ingredients (again, I'd recommend adding the pudding at this stage, rather than earlier) and stir until dough is formed. Mix in the chips x 2 and any other snacks you would like to encounter in the cookies.


Place on a baking sheet (greasing unnecessary, but un-harmful) and bake for 9-11 minutes. So good.

Tuesday, 29 March 2011

Comal

Dani, I apologize in advance for this post which is not really sharing a recipe or specific culinary-venture. Instead I am going to waste your time contemplating some food related concepts, with the occasional pseudo-recipe interspersed, and the more frequent revelation of my inability to properly use my alleged brain.


#1: Butterscotch. What's up with that. I recently purchased a bag of butterscotch chips for a butterscotch brownie recipe. In true me form, I opened the bag before I intended to actually bake with the chips. I wanted to use a few in a fake sundae I was making myself with yogurt and chocolate chips. Butterscotch seemed the cherry on top to eliminate all possible health-redemption from the yogurt. Suggestion: don't try this if you don't want to be fat. I found myself returning to the cupboard every few bites to add a few more butterscotches to the mixture. In the end, I thoroughly enjoyed my butterscotch-chips-with-yogurt. I'm sure the regret will set in when I find I am 1 cup short on the butterscotch for the brownies and 10 pounds heavier. Until then, I will be snacking on butterscotch/choc chip trail mix (yes, I just invented this. No, there are no other ingredients).


#2: Beans. Yum. Always. With Dani off in Portland, I found myself longing to hear her attempting to lure me to her house with the promise of beans (this always works when I am hungry). Her mom, a kitchen boss, makes the most delicious beans in the ever-intimidating pressure cooker. I, very obligingly, consume the beans at any and every opportunity. They are delicious with cheese, tortillas, avocados, mushrooms, chicken?, really any sauteed vegetable, or just plain. As luck would have it, Nic had left an unopened can of black beans at my house (cheers). Being that I do not have a pressure cooker or beans skills, canned is my only feasible option for creating something edible involving beans. I set to work improvising. I cooked some garlic and threw in a random pepper that miraculously happened to be in my house. I let these items sizzle for some time (and burn just a little..) before I poured in the beans, and about 3/4 tsp ground cumin. Upon tasting the beans, I decided to add some chipotle flakes and chili flakes. A good decision. As I have no comal, I stove top heated some tortillas and devoured. It could have been worse.


#3: Hummus: A tragedy. Well, if we're being honest, the real tragedy is my absolute idiocy in certain contexts. I realize that I take a chance whenever I diverge from the recipes I follow in baking projects; baking is a science blah blah blah. This is a risk I am willing to take in the interest of saving time and resources and maybe, just maybe, coming out with a win (baseball season metaphor). The point being, most of my foodie failures stem from an adventurous laziness, rather than from pure stupidity. My most recent attempt at hummus does not fall into this category of failures.

I had made Molly Katzen's hummus a few weeks ago, much to my delight, and decided to repeat it. I dumped 1 can chickpeas, 3 tbsp tahini, 2 tbsp lemon juice, a clove of garlic and 1 tsp cumin into my shiny new food processor, secured the top (with far fewer hiccups than my last attempt to use Cuizzee (rhymes with weezy), and pressed "pulse." Nothing. I removed the lid, re-attached it, pressed pulse. Nothing. I removed the bowl, re-attached it, pressed pulse. Nothing. I un-plugged the machine, removed the lid and the bowl, re-attached the bowl and secured the lid, plugged in the base and pressed pulse. Nothing. It was not until the genius Camila took a crack at assembling the machine a week later that I realized (although I did not admit this at the time) that I had been putting the bowl on backwards (it seemed to click into place at the time, leading me to assume that the cuisinart was defective, and not I). Woops. After multiple frustrated attempts, I eventually scraped the contents into the itsy-bitsy and highly temperamental cuinsinart we have. Lil Cuizzee made a valiant effort to chop all these ingredients into a smooth, cohesive dip-spread, but it just couldn't take the pressure. The end result was a very chunky, lemony substance, with the occasional large bite of garlic. It wasn't bad, but it wasn't hummus. Perhaps something got lost in transferal of the ingredients from vessel to vessel. Perhaps Cuizzee hates me (see future post about cuisinart bread attempt 2). Either way, after I write this, I will be throwing the remains of the non-hummus to the worms.

Saturday, 26 March 2011

One hundred Camilas

Yesterday was a momentous day: my favorite person named after a Cuban revolutionary came to town. Naturally, I had to bake something to celebrate this occasion. I had re-created Heidi's delicious spice cake earlier this week using canned pumpkin. The recipe had only used 1/2 cup of the pumpkin, leaving me lots left to work with. I considered making the cake once again, as Dani, an avid fan of this cake, had not gotten to sample the most recent trial. Upon further thought and exploration of options, though, I decided to branch out. The extra sugary Magnolia Bakery Cookbook provided the solution in the form of a recipe for "Pumpkin Bars with Cream Cheese Icing." Amazingly enough, I had all the ingredients. I had been saving the cream cheese for a baking project intended to impress someone at work, but this was clearly more important.

I intended to stick with the recipe completely, minus the nuts (ew). I struggled to reach the full amount of pumpkin called for in the recipe, but with lots of scraping and spatul-ing of the can I think I made it happen. Either way, it was impossible to tell in the end. I also decreased the cinnamon by 1 tsp because nothing can ruin a cake like too much cinnamon.

Pumpkin Cake (I don't know what pumpkin bars are. This was a cake) with Cream Cheese Frosting
adapted from recipe by Allysa Torey and Jennifer Appel

Cake part:
* 1 1/2 cups flour
* 1 1/2 tsp baking powder
* 1/2 tsp cinnamon
* 1 tsp baking soda
* 1/4 tsp salt
* 1 1/4 cups canned pumpkin puree
* 1 1/4 cups sugar
* 3/4 cups vegetable oil (I considered using butter instead, but oil was definitely the way to go on this one. Moist!)
* 3 eggs

Frosting part:
* 8 oz cream cheese, room temp
* 3 1/2 tbsp butter, room temp
* 2 ish cups powdered sugar
* 1 tsp vanilla

Cake: Preheat oven to 350˚ F. Grease a 9 x 13 inch baking pan.

Mix the flour, b.p., cinnamon, b.s., and salt in a small bowl or liquid cup measure (efficiency!).


In a large bowl, beat the pumpkin, sugar, oil and eggs until smooth and well combined (I used the hand beaters to ensure the ingredients were sufficiently blended). Pour in the dry ingredients and mix well. Pour the batter into the pan and bake 28-33 minutes.


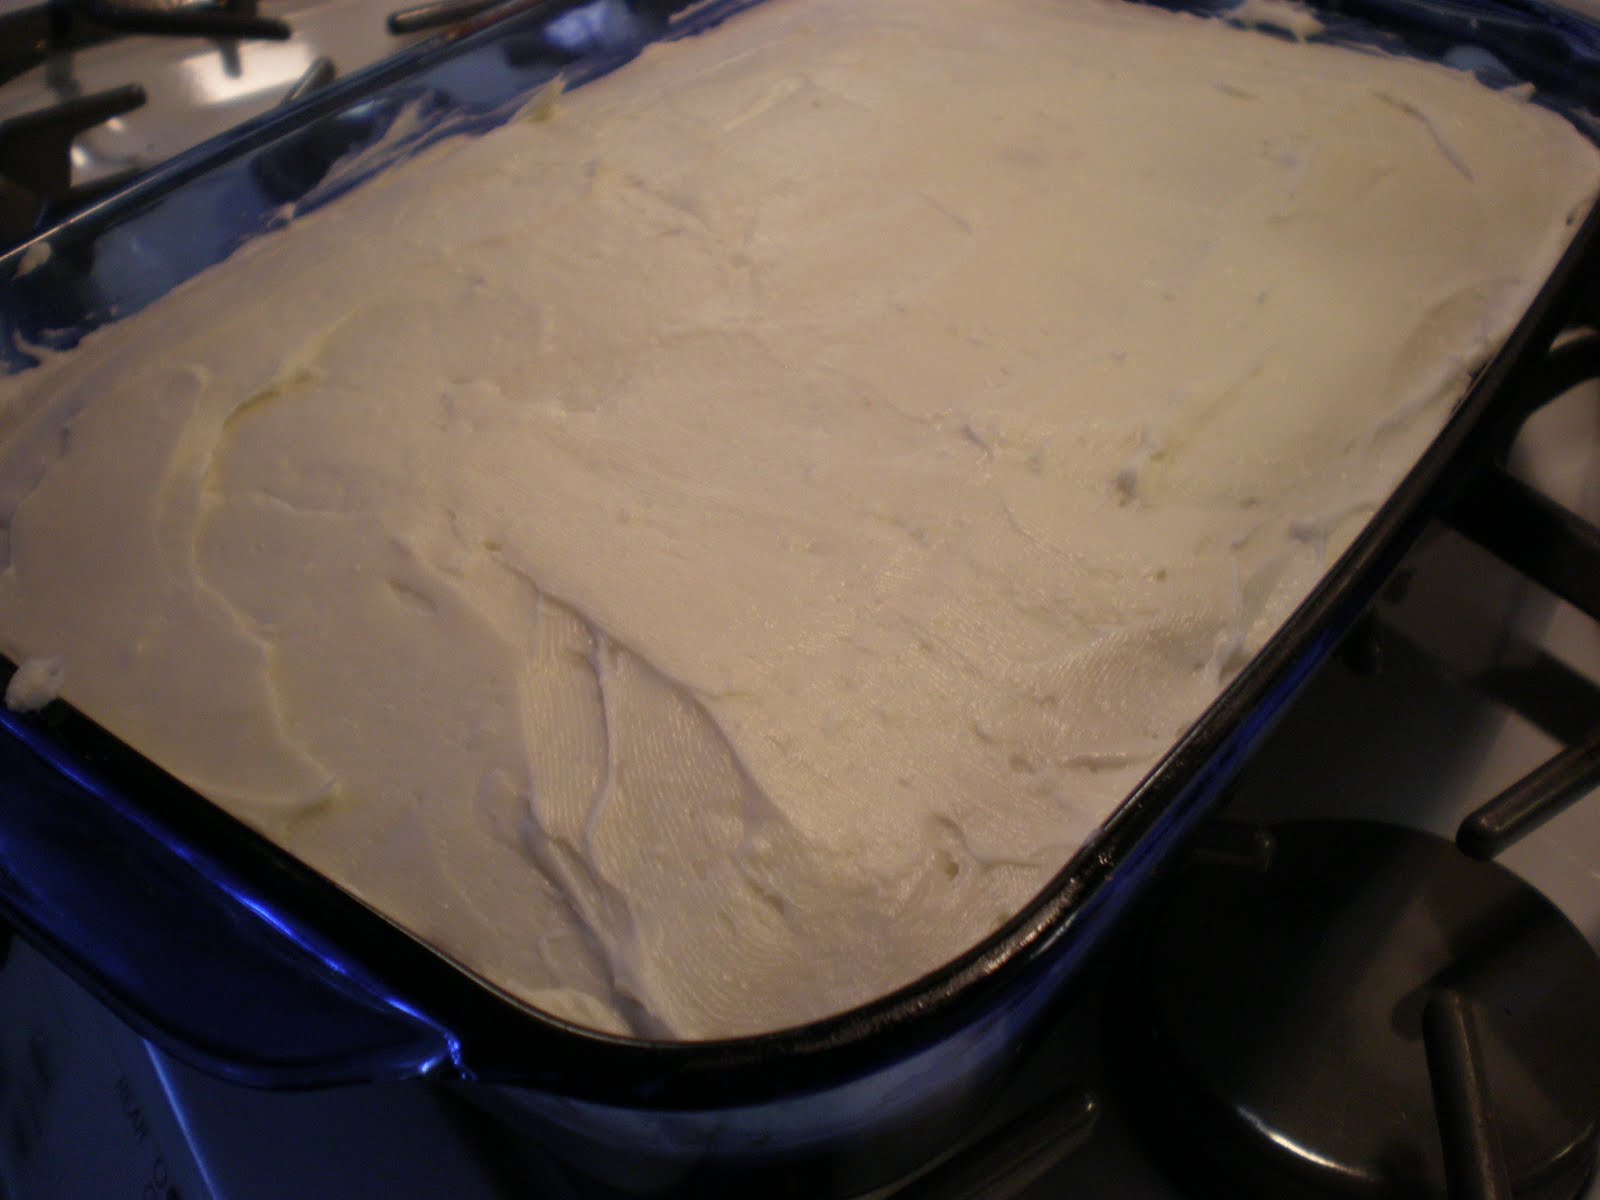
While the cake is cooling, make the frosting: Using beaters or a standing mixer, whip the cream cheese and butter together. Add the vanilla and beat again. Add the sugar by the half cup until sweetened to your liking. When the cake has cooled, spread a thick layer of frosting over the top. Kidnap your friends and being them to your house and force them to eat the cake (between eight of us the cake did not survive the night).

Lastly, my apologies for the shitty pictures. As with all extremely tasty things I make, it was impossible to remember to photograph pieces of the cake before they were rapidly demolished. But trust me, it was beautiful.

Monday, 21 March 2011

Control Freaks

Sometimes one just has to bake something vegan. Usually this only happens when you are with a vegan and trying to be sensitive. Actually, this does only happen when you are with a vegan and trying to be sensitive. That said, when Nic showed up unexpectedly at my door I knew there would be some animal product-less baking in our near futures.

We perused a few vegan websites and were not unimpressed with the selection of recipes, but the true answer did not take long to find. Allowing my taste buds' agenda to take over, I embarked on a google search of "vegan peanut butter cookies." The rationale for wanting vegan peanut butter cookies was that the nuttiness of peanut butter overtakes the other flavors in peanut butter cookies. A frequent conundrum with vegan baking is that the flavors are somehow not as stellar as those of butter, eggs and granulated sugar (for some reason many vegan recipes shy away from sugar in exchange for agave or maple syrup. Explain, someone), and are instead just a little weird. On the other hand, it is very difficult to craft a truly foul flavored PB cookie (that said, I hated the things, vegan or not, for most of my childhood... but we are all young and stupid at some point). But I digress.

The second link that came up was for none other than 101cookbooks's vegan PB cookies. Nic agreed that they sounded half decent. She also agreed to let me use almond butter (the container was open and the PB was sealed) and some agave instead of all maple syrup (maple syrup is expensive and I have no other foreseeable use for the agave).

MaNic/Nuts Cookies
adapted from recipe by Heidi Swanson

* 2 cups whole wheat flour
* 1 tsp baking soda
* 3/4 tsp salt
* 1/2 cup almond butter
* 1/2 cup peanut butter (I had chunky because it's better, but creamy will suffice)
* 1/2 cup maple syrup
* 1/2 cup agave
* 1 1/2 tsp vanilla
* 1/3 cup olive oil

Preheat oven to 350˚ F.

Have your fellow control freak mix the flours, b.p. and salt in a bowl. In a larger bowl, combine the nut butters, maple syrup/agave, olive oil and vanilla. Mix them until very well combine and smooth (except for the peanut chunks).


Pour in the flour, salt and baking soda. Mix until just barely combined. Let the dough sit for 5 minutes (or so. We all now how I feel about waiting). Give a few more stirs. The dough is sticky, so it is advisable to use a spoon to scoop dough onto a lightly greased baking sheet. Bake for about 10 minutes. Let cool before removing from the sheet, as they will be soft still and fall apart easily when still hot.


Final commentary: When they first came out of the oven, the cookies were good, but had a slight bitterness (most probably from the almond butter and olive oil) that exacerbated the fact that they were not very sweet. They were not bad, just - different. That said, after sitting for a night the bitterness dissipated and the maple/agave flavor strengthened. They maintained their x-factor, as the olive oil flavor subtly remained, but they were slightly more delicious after resting.

Sunday, 20 March 2011

dough boy fresh

Title. Today was a wake and bake kind of day. It was Sunday, rainy and I had the house (mostly) to myself. But in the interest of being moderately productive with the day, I decided to make soda bread instead. I first thought I'd have a second go with cuisinart bread, but was quickly put off by memories of the waiting/rising process, etc. I had also failed to celebrate St. Patrick's Day (unless you count getting drunk and belligerent on Guinness when it was still light out and proceeding to get in a physical fight with one of my good friends as celebrating St. Patrick's Day...), and soda bread seemed like a good tribute to my Irish non-brethren.

I attempted to find a recipe for soda bread I had found successful previously (not the oat one I wrote about in here). I am pretty sure it came from the Bread Bible, but upon comparing the B.B. recipe with one I found in the Big Book of Baking, I decided to try the latter. I made a minor adjustment, adding 2 cups of whole wheat flour (I had done this the first time I made soda bread to my immense delight. Flavor and fiber!), but otherwise was content with the simplicity of the recipe.

American Soda Bread
adapted from recipe from The Big Book and Baking

* 2 cups flour
* 2 cups whole wheat flour
* 1 tsp baking soda
* 1 tsp salt
* 1 3/4 cups buttermilk (I made the genius error of reading 1 1/4 cups at first and was most perplexed when the dough was excessively floury and dry until I finally learned to read)

Preheat oven to 425˚ F. Lightly grease a cookie sheet.

Mix the flours, baking soda and salt in a bowl. Make a well and add the buttermilk (ideally the proper amount). Stir until the dough just comes together. It should not be too wet.


Turn dough onto floured surface and knead a few times. Shape into a 8-inch circle (NOTE: THIS STEP IS CRUCIAL). Place the loaf on the cookie sheet. Make a cross on the top with a knife. Bake for 25-30 minutes, until golden and hollow sounding when tapped. Cool on a wire rack.


Now for the fun part: I was very pleased with my first impression of the bread. It was a gorgeous color and well risen, if slightly lopsided. The first slice I tasted was the perfect temperature, slightly crunchy on the outsides and subtly flavored. I immediately went in for a second piece, only to discover an oval of raw dough in the center of my bread. I cut another piece to see if the dough problem had invaded the whole loaf. It had. Now, for anyone who knows me, raw things are not problematic. I will eat most things from raw mushrooms to, as it happens, bread dough. This was a little troubling, though. I ate the pieces I had cut with some buttery spread while pondering 1) how I could fix this and 2) how it happened. I re-heated the oven to 350˚ and put the bread back in for 3 minutes before deciding that this was not a good idea - the rest of the loaf was borderline dry already and this would most likely ruin the whole thing without fixing the central problem (hehe). I removed it, ate another piece, then grabbed a spoon. It was time to excavate. I scooped out as much of the raw part as possible and shaped it together into a mini loaf. I stuck it in the toaster oven at 350˚ for about 5 minutes, then shoved this small, mostly baked piece back into the cavernous loaf. I am nothing if not creative. And crazy.


As for what happened, Dani proposed that I did not sufficiently flatten the dough (hence above warning at the shaping step). I think I also failed to tightly pinch the dough seams together, which, while this might not have contributed to the un-baked factor, is always important in bread making. Duly noted.